Welcome to our comprehensive guide on how to properly vent a microwave on an interior wall. If you’re looking to enhance both the functionality and safety of your kitchen, this article is for you. Venting your microwave on an interior wall is a smart choice that allows for optimal airflow and efficient ventilation, ensuring a comfortable and healthy cooking environment.
In this guide, we’ll walk you through the step-by-step process, discussing important considerations, tools, and techniques to make your project a success. We’ll cover everything you need to know to confidently tackle this DIY task and create an environment that not only looks great but works flawlessly as well.
Proper ventilation is key to maintaining good air quality in your kitchen. By venting your microwave on an interior wall, you can effectively remove unwanted odors, smoke, and steam, while also preventing potential damage caused by improper venting. It’s a win-win solution for improved kitchen functionality and safety.
So, let’s get started and learn how to vent a microwave on an interior wall the right way. By following our expert advice and tips, you’ll be one step closer to creating the kitchen of your dreams.
Selecting the Right Location on an Interior Wall
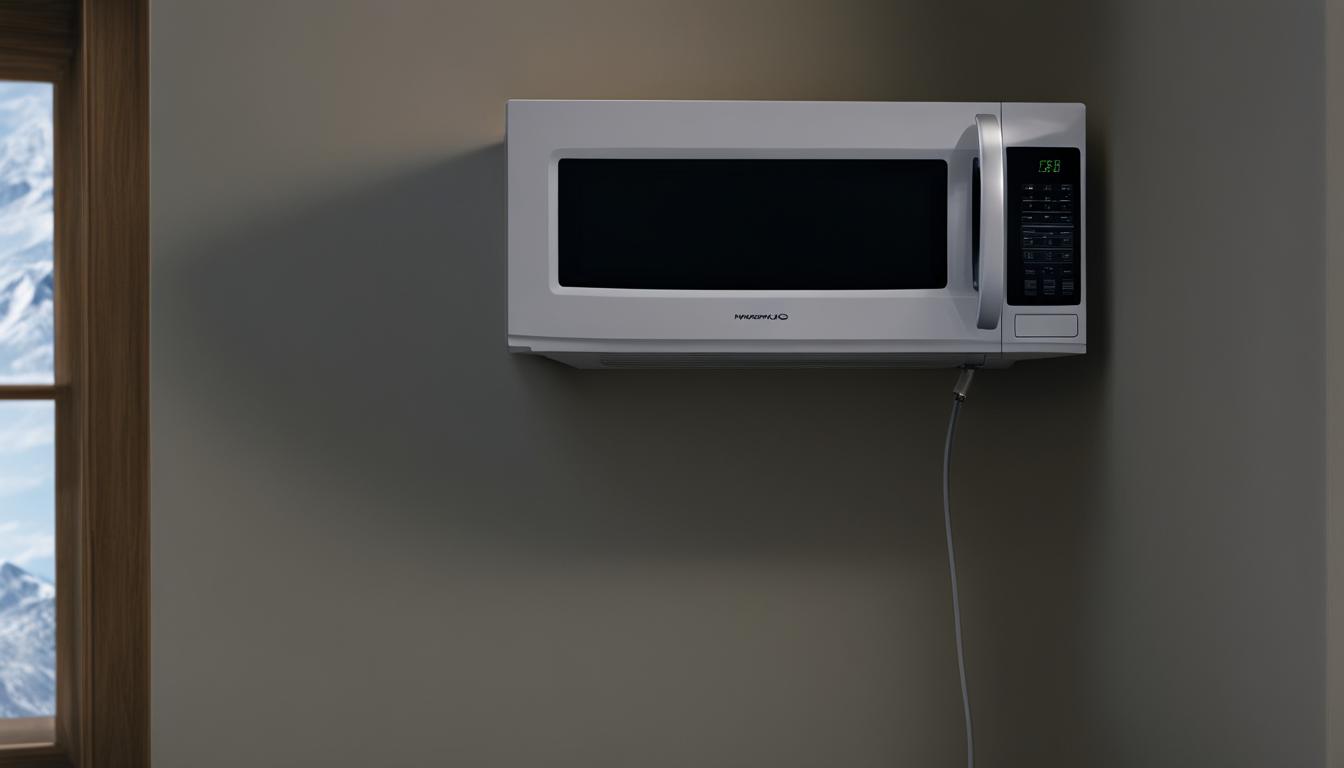
When it comes to venting a microwave on an interior wall, selecting the right location is crucial for effective kitchen ventilation. This decision will not only impact the functionality of your microwave but also the overall efficiency of your kitchen. Consider the following factors to ensure the optimal placement for your microwave venting:
- Microwave Venting Location: Choose a location on the interior wall that allows for convenient installation of the venting system. Consider the proximity to other kitchen appliances and the availability of space for proper ductwork.
- Interior Wall Placement: Look for a spot that is easily accessible and does not obstruct the flow of cooking activities in your kitchen. Optimal placement will ensure seamless integration of the microwave venting system into your kitchen’s design.
- Kitchen Ventilation: Take into account the overall ventilation needs of your kitchen. Identify areas where smoke, odors, and steam tend to accumulate the most, such as near the stove or cooking area. Placing the microwave venting system in these strategic locations will effectively remove airborne pollutants and maintain a clean and comfortable kitchen environment.
Proper placement of your microwave venting system will not only enhance the functionality of your kitchen but also contribute to better air quality and a more enjoyable cooking experience. By considering the microwave venting location, interior wall placement, and kitchen ventilation, you can make an informed decision that optimizes both practicality and aesthetics.
Necessary Tools and Materials for Interior Wall Venting
When venting a microwave on an interior wall, it is crucial to have the right tools and materials to ensure a successful installation. By following these step-by-step instructions, you can achieve optimal functionality and safety in your kitchen.
Tools
- Electric drill
- Reciprocating saw
- Screwdriver
- Measuring tape
- Pencil
- Level
- Stud finder
- Wire cutters
- Extension cord (if necessary)
Materials
- Venting kit: This includes ductwork, elbows, and a wall cap to route the airflow outside.
- Flexible aluminum duct or rigid metal duct: Choose the appropriate type based on local building codes and the layout of your kitchen.
- Mounting bracket: This securely holds your microwave in place.
- Screws and anchors: For attaching the mounting bracket and wall cap.
- Wire nuts: These connect the microwave’s electrical wires to the house wiring.
- Caulk: To seal any gaps between the venting system and the wall.
Make sure to gather all the necessary tools and materials before starting the installation process. This will save you time and ensure you have everything you need to complete the project successfully.

Ventilation Techniques for an Interior Wall
When it comes to venting a microwave on an interior wall, there are several ventilation techniques you can consider. Each option offers its own set of advantages and considerations, allowing you to choose the method that best suits your needs and kitchen layout.
Ducted Ventilation Systems
If you prioritize maximum air circulation and extraction, a ducted ventilation system may be the ideal choice for your interior wall. This system involves the installation of a duct that connects the microwave vent to an exterior opening, allowing for the direct expulsion of odors, moisture, and smoke.
Ducted ventilation systems provide efficient and effective removal of kitchen air pollutants, minimizing the risk of lingering odors and potential health hazards.
Keep in mind that installing a ducted system may require professional assistance, as it involves creating an opening in your exterior wall and ensuring proper ventilation connections.
Non-Ducted Ventilation Systems
If your kitchen layout poses challenges for installing a ducted system, a non-ducted ventilation system, also known as a recirculating or filtration system, can be a practical alternative. This system filters the air through a series of charcoal or carbon filters before reintroducing it back into the kitchen.
Non-ducted ventilation systems offer flexibility in installation and are ideal for kitchens without access to exterior walls or those with limited space.
While non-ducted systems are easier to install, it’s important to note that they may not be as effective in completely eliminating odors and moisture from your kitchen. Regular maintenance of the filters is crucial to ensure optimal performance.
Hybrid Ventilation Systems
In some cases, a combination of ducted and non-ducted systems, known as hybrid ventilation, may be appropriate. This approach allows for both ventilation options, maximizing airflow and filtration efficiency.
Hybrid systems can be particularly beneficial if you have a larger kitchen or require additional ventilation in specific areas, such as above a cooktop or range.
| Ventilation Technique | Pros | Cons |
|---|---|---|
| Ducted Ventilation System | Efficient air extraction Highest odor and moisture removal Enhanced kitchen air quality |
Requires professional installation May involve modifying exterior walls |
| Non-Ducted Ventilation System | Easy installation Flexible placement options Doesn’t require exterior wall access |
Limited odor and moisture removal Regular filter maintenance required |
| Hybrid Ventilation System | Combines advantages of ducted and non-ducted systems Maximizes airflow and filtration |
Potentially higher installation cost Requires careful planning |
When deciding which ventilation technique to choose, consider factors such as kitchen size, layout, and your specific ventilation needs. Additionally, consulting with a professional can help ensure you make an informed decision and achieve the best results.
Next, we’ll delve into the crucial aspect of maintaining safety and proper functionality when venting a microwave on an interior wall.
Ensuring Safety and Proper Functionality
Maintaining Kitchen Safety
When it comes to venting a microwave on an interior wall, ensuring kitchen safety is paramount. Proper installation and regular maintenance are essential for the safe operation of your microwave and ventilation system.
Here are some important tips to keep in mind:
- Frequently check and clean the vent filters to prevent accumulation of grease and debris.
- Inspect the vent ducts for any blockages or obstructions that may hinder proper airflow.
- Regularly test the functionality of the microwave venting system to ensure it is effectively removing cooking odors and steam.
- Ensure the venting system is properly installed and securely attached to the interior wall to prevent any potential accidents.
Maintaining Proper Microwave Venting
Maintaining proper microwave venting not only enhances the functionality of your kitchen but also prolongs the lifespan of your microwave. Here are some key maintenance practices to consider:
- Regularly inspect the microwave exterior and interior for signs of wear and tear or damage.
- Keep the vent grilles clean and free from any obstruction to facilitate smooth airflow.
- Ensure that the microwave is positioned correctly and securely attached to the interior wall to prevent any vibrations or movement that may affect the venting efficiency.
- If you notice any issues with the microwave venting system, such as reduced airflow or strange odors, consult a professional for inspection and repair.
Potential Issues with Interior Wall Venting
While venting a microwave on an interior wall can greatly improve kitchen ventilation, there are potential issues that may arise. It is important to be aware of these challenges and address them promptly:
- Inadequate ventilation: Poorly designed or improperly installed venting systems may not effectively remove cooking odors and steam, resulting in poor ventilation in your kitchen.
- Excessive noise: Some venting systems may generate excessive noise during operation, which can be disruptive and unpleasant.
- Maintenance issues: Neglecting regular maintenance of the venting system can lead to clogged vents, reduced efficiency, and potential safety hazards.
By understanding these potential issues and taking the necessary precautions, you can ensure the safety and proper functionality of your microwave venting system on an interior wall.
Enhancing Kitchen Functionality with Proper Ventilation
Proper ventilation is essential for a functional and healthy kitchen environment. When it comes to venting a microwave on an interior wall, the advantages go beyond just removing cooking odors and smoke. Improved air quality and enhanced kitchen functionality are key benefits that come with implementing a well-designed ventilation system.
By venting your microwave on an interior wall, you can effectively remove unwanted odors, grease, and humidity from your kitchen space. This not only keeps your kitchen smelling fresh but also prevents these particles from circulating and settling on surfaces, ultimately improving the air quality for you and your family.
An interior wall venting system allows for efficient air circulation and proper ventilation, ensuring a comfortable and pleasant cooking experience. It helps to maintain a clean and organized kitchen by preventing the build-up of grease and moisture on cabinets, walls, and other surfaces.
Moreover, a well-ventilated kitchen reduces the risk of mold and mildew growth, which can lead to health issues and costly repairs. By directing the moist air outside, an interior wall venting system minimizes the chances of condensation and dampness, creating a healthier environment.
Proper ventilation also plays a crucial role in maintaining the efficiency of your kitchen appliances. By removing excess heat and steam, a well-ventilated kitchen helps prevent overheating and prolongs the lifespan of your microwave and other appliances.
With interior wall venting, you can enjoy the advantages of improved air quality, reduced odors, and a functional kitchen space. Take the necessary steps to install a proper venting system and maximize the benefits of a well-ventilated kitchen.
There are various ventilation techniques and options available for interior wall venting. The key is to choose a system that suits your kitchen layout, budget, and preferences. Whether you opt for a ducted or non-ducted system, ensure that it effectively removes pollutants, enhances air circulation, and improves overall air quality.
A well-ventilated kitchen not only enhances the cooking experience but also contributes to a healthier and more comfortable living environment. From removing unwanted odors to preventing mold growth, investing in proper ventilation can make a significant difference in your kitchen’s functionality and overall air quality.
Conclusion
In conclusion, properly venting a microwave on an interior wall is crucial for enhancing both the functionality and safety of your kitchen. By following the steps outlined in this article, you can ensure optimal ventilation and improve the overall air quality in your cooking space.
Throughout this guide, we discussed the importance of selecting the right location on an interior wall and provided insights into the necessary tools and materials for a successful venting installation. We explored different ventilation techniques and highlighted the benefits of maintaining a well-ventilated kitchen.
Remember, a properly vented microwave not only eliminates cooking odors and steam but also helps prevent the buildup of harmful gases. By implementing the techniques described in this article, you can enjoy a more comfortable and safe cooking environment.
So, whether you’re renovating your kitchen space or considering installing a new microwave, don’t overlook the importance of proper venting on an interior wall. Take the time to carefully plan and execute the installation, and you’ll reap the rewards of a functional and healthy kitchen for years to come!