Welcome to our guide on installing foam board insulation on interior walls to enhance the energy efficiency of your home. By properly insulating your walls, you can significantly reduce heat loss and save on energy costs. In this section, we will provide you with a step-by-step process to help you achieve optimal insulation results.
Installing foam board insulation is a practical and cost-effective solution for improving the thermal performance of your interior walls. Not only does it provide excellent insulation properties, but it also helps to reduce noise transmission and increase the overall comfort of your living space.
Whether you are renovating an existing room or constructing a new one, our guide will equip you with the necessary knowledge and skills to successfully install foam board insulation. We will cover everything from understanding the different types of insulation to the actual installation process.
Follow our instructions closely, and you’ll be on your way to enjoying a more energy-efficient home with enhanced insulation in no time. Let’s get started with understanding foam board insulation in the next section.
Understanding Foam Board Insulation
Before diving into the installation process, it’s important to have a clear understanding of foam board insulation and its benefits. Foam board insulation is a type of rigid insulation that is commonly used to insulate walls, ceilings, and floors. It is made from a combination of polystyrene, polyisocyanurate, or polyurethane foam, which provides excellent thermal resistance.
Foam board insulation offers several advantages over other types of insulation. Firstly, it has a high R-value, which measures its resistance to heat flow. The higher the R-value, the more effective the insulation is at reducing heat transfer. Foam board insulation typically has a higher R-value compared to other insulation materials, making it a great choice for improving energy efficiency.
Furthermore, foam board insulation also acts as a barrier to air infiltration, preventing drafts and reducing the workload on your HVAC system. This can lead to significant energy savings and increased comfort in your home. Additionally, foam board insulation is moisture resistant and can help prevent the growth of mold and mildew.
When it comes to foam board insulation, there are several types available on the market. The most common types include expanded polystyrene (EPS), extruded polystyrene (XPS), and polyisocyanurate (polyiso). EPS is a lightweight and cost-effective option, while XPS offers a higher compressive strength and moisture resistance. Polyiso insulation is known for its high R-value and versatility.
Overall, foam board insulation is a durable and efficient insulation solution that can greatly improve the energy efficiency of your home. By understanding its benefits and different types, you can make informed decisions during the installation process.
Now that we have a good understanding of foam board insulation, let’s move on to the preparation and materials required for the installation process.

Preparation and Materials
Before you begin the installation of foam board insulation on your interior walls, it’s important to prepare the walls properly. This will ensure a smooth and effective installation process. Here are the necessary steps to follow:
-
Prepare the Walls:
Start by ensuring that the walls are clean and free from any debris. Remove any wallpaper, loose paint, or other wall coverings that may hinder the installation process. Fill in any cracks or holes with spackling compound and sand them down to create a smooth surface.
“Preparing the walls is crucial for a successful foam board insulation installation.”
-
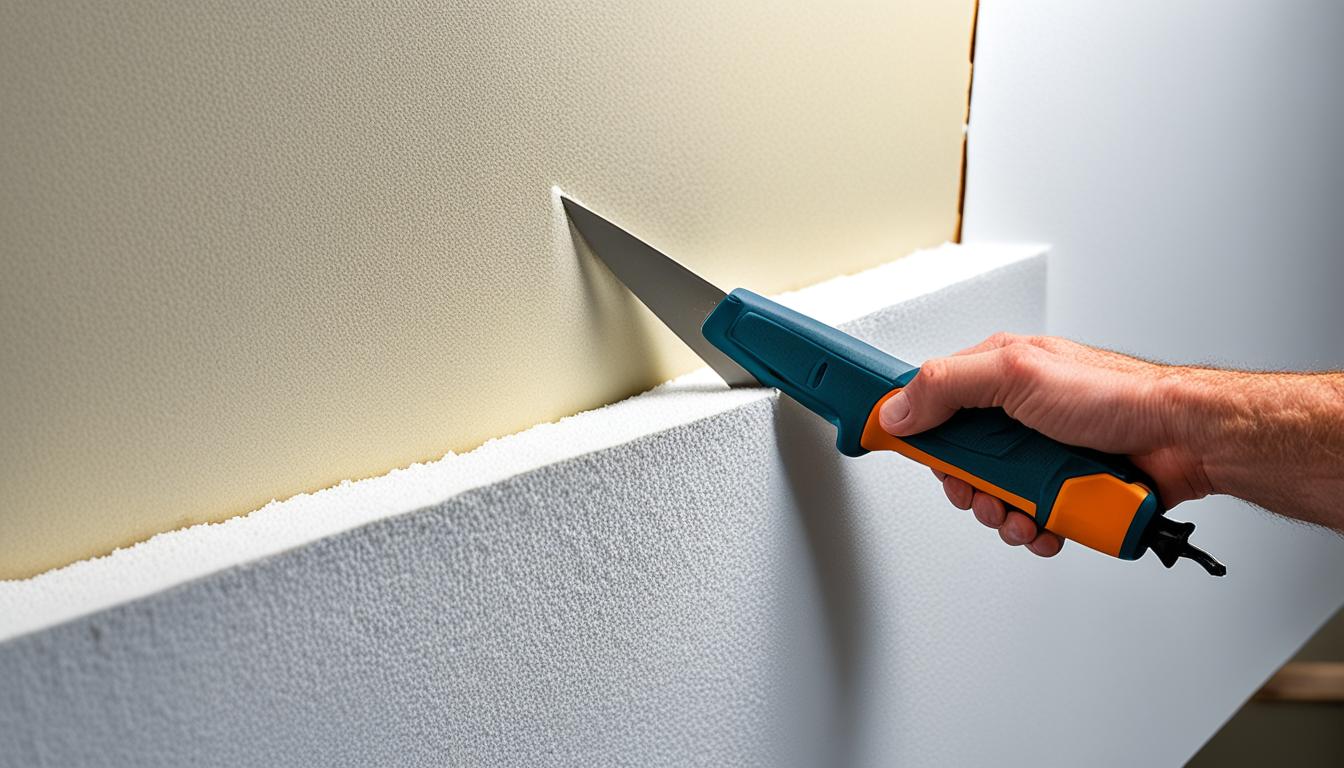
Measure and Cut Foam Boards:
Take accurate measurements of the walls and then transfer them onto the foam boards. Use a straightedge and a utility knife to cut the foam boards to the correct size. Remember to account for any outlets or obstacles on the walls.
“Properly measuring and cutting the foam boards will ensure a precise fit.”
-
Select Adhesive or Fasteners:
Choose the appropriate adhesive or fasteners to secure the foam boards to the walls. Adhesive is commonly used for a smooth application, while fasteners are useful for walls that require extra support. Select the option that best suits your wall type and personal preference.
“The selection of adhesive or fasteners depends on your wall and installation preferences.”
-
Take Safety Precautions:
Prioritize your safety during the installation process. Wear protective gear such as gloves, safety goggles, and a dust mask to prevent any injuries or inhalation of dust particles. Use a sturdy ladder or scaffolding when working at heights.
“Safety precautions should always be taken to ensure a safe and accident-free installation.”
Following these preparation steps will set the foundation for a successful foam board insulation installation on your interior walls.
| Preparation Steps | Tips |
|---|---|
| Prepare the Walls | – Remove old wall coverings – Fill in cracks and holes – Smooth the surface |
| Measure and Cut Foam Boards | – Take accurate measurements – Use a straightedge and utility knife – Account for obstacles |
| Select Adhesive or Fasteners | – Choose the right adhesive or fasteners for your wall type – Consider ease of application and personal preference |
| Take Safety Precautions | – Wear protective gear – Use a stable ladder or scaffolding – Follow safety guidelines |
Installation Process and Tips
Now that you have prepared your walls and gathered all the necessary materials, it’s time to start the installation process. Follow these step-by-step instructions to ensure a successful installation of foam board insulation on your interior walls.
1. Attaching Foam Boards: Begin by applying a generous amount of adhesive or fasteners to the back of the foam board. Press it firmly against the wall, making sure it is level and secure. Repeat this process until all the foam boards are in place.
2. Sealing Gaps: Inspect the installation for any gaps between the foam boards or between the boards and the wall. Use foam board sealant or construction caulk to fill in any gaps, ensuring a tight seal. This step is crucial to maximize the insulation’s effectiveness.
3. Finishing Touches: To achieve a professional finish, cover the foam boards with a durable wall covering such as drywall or paneling. This will not only enhance the aesthetic appeal of your walls but also provide an additional layer of protection to the insulation.
By following these installation tips, you can be confident in creating a more energy-efficient space. Properly attaching the foam boards, sealing any gaps, and adding a finishing touch will enhance the insulation’s performance and contribute to a more comfortable and energy-efficient home.